Wednesday, December 24, 2008

Merry Christmas

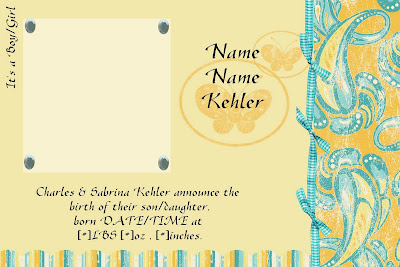
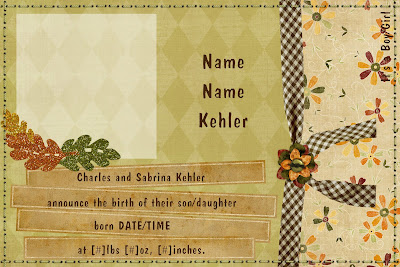
Merry Christmas to all! Here's our Christmas card! Once again, made in Gimp (visit gimp.org for the download), and using Shabby Princess' Christmas digital paper.

Saturday, December 13, 2008

My lil Angel

Well, I finally started working on a few more photos... this time of my sweet little girl. I had some fun with the camera yesturday after changing her into a different outfit (3-6month size, so a bit big but oh so cute...)... yeah, I took over 100 pics in about15 minutes, haha. Anyway, here are a few things I did with them.


I thought this picture was super cute, and decided I'd like to see it in black and white with only the red showing, so I did!


This one reminded me of trying to 'catch' something, so I edited the corner to make it white, softened the edges, and added some words in the corner. I love the 3D effect of the words... had no idea that what I was doing would do that! How? Made the words thicker, made them white, copied it and made those black, moved them 3 pixels down and left, blurred them, and then made the white layer 'soft light' instead of 'normal'.

This pic was just to cute. I decided she needed a halo as it looked kinda like she was about to pray. Yup, so I made a halo and added more words using the soft glow layer bit.

So, those are my pics... at least the ones that I modified.

Friday, November 14, 2008

Here it is... the finished final product. I should have posted this ages ago. I decided on this layout in the end, even though I loved some of the others, because it is a 2 photo layout and I wanted to add in my foot pic with our wedding rings.

Thursday, August 28, 2008

More Editing

So, I have two new photos for you to enjoy. The first one is one of our fall engagement pics. The pic is the same, I just made it black and white with only us in color, as well as a bit of other blue bits in the photo. I also toned the color down a lot, to give it a faded look.

To do this sort of thing was relatively simple. All you do (in gimp) is the following: First, make a copied layer of your photo. Then, go to filters, then colors, then colorify and make one layer black and white. Copy the original layer again, and place it "on top" so it is first. Pick the color you want to keep using the 'select by color' button on the toolbar. Invert the selection using another one of the buttons, and then erase everything you can! (I like to make a giant brush using the brush making tool and use that to erase much larger sections at once). Then, on the window with the layers where it says Mode: Normal, pick "color" from the drop down menu, and then select the opacity you want to give it a more "faded" effect. Voila. You can do as many colors as you want, or you can just 'paint in' your own color on a transparent layer.


This next pic is at our wedding. In the first one you will see a sign and a blanket, and in the second, they are gone! Basically, all you do is create another transparent layer, copy the "sand" or "branches" you wish to have cover whatever you want removed (select the transparent layer and when you've selected what you want with the selection tool, click on 'edit', 'copy visible'), and move the copied segment onto the transparent layer using the move button, then the anchor (it shows up on the mouse automatically, just be sure you have the transparent layer selected, not the original layer you copied it from) to place it on your layer. You can then erase bits of it to make it work.

To make it look more realistic, I added a shadow below my dress (using a transparent layer, black, making it more opaque of a layer, using gaussian blur to make it less sharp, and then erasing portions of it). I also did the same fuzzing technique around the edge of the photo using a green color I 'eyedropped' from the trees.


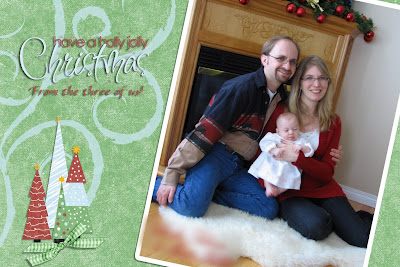
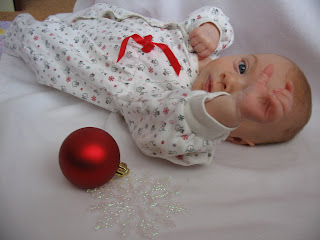
Voila... and you can have so much fun once you get to know the gimp tools a bit better. Try playing around with them a bit. It's very similar to Adobe Photoshop, but it's free. However, it does take a while to get used to the program. I'm sorry if my explanations seem... vague or confusing. If you need better ones, email me! I'll do my best to describe things a bit better. Perhaps I'll eventually post screenshots of where each button is and step by step instructions... if people ask for them of course.

Enjoy!

Tuesday, August 26, 2008

Combining Photos

When we went on our trip last year to Lake Louise, I saw this one spot I really wanted a pic of the two of us at... but there was nobody to take it. So, I took two photos of us seperately, and combined it into one! I think it turned out well.

Monday, August 18, 2008

Baby Announcements

This post will also appear on my main blog.

So, today I've been working a lot on creating my own baby announcement templates. I made 5 basic templates with many variations to each of them (except one, as it works just great the way it is). You can view the album by clicking here. Thanks to Shabby Princess for her free downloadable scrapbooking themes. Here's a little taste of the templates.

Thursday, June 19, 2008

Quick Pic Fix

I haven't done very many "quick" changes to pics in awhile, and I decided I needed to revamp my profile photo, so I did. This picture was taken on our trip to the Dominican Republic.

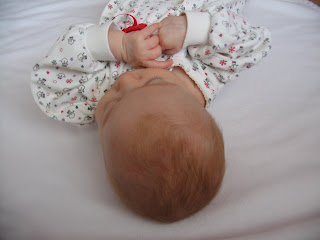
I cropped it, greyed it, and just added some fuzzing. I love how something so simple can really make a picture look so very different.

Tuesday, June 3, 2008

Adding more color

It's been awhile since I've worked on any of my pictures. I have another picture I really liked the look of, but kind of wanted to see it in color. Unfortunetly the scan was not very good quality, and when I look at it close up it is blurred and in general, not as good as if I could just have it printed directly from the film in black and white. So, what I'll probably do for my scrapbook is have the picture below in black and white, and then add a smaller picture, which is in color, to the corner of the page of dad giving me a kiss on the cheek. I think that would be a lovely page, especially since I want to have this picture printed in a 6x6 or maybe larger (as it is square... perhaps I'll just do it as an 8x10 or something).

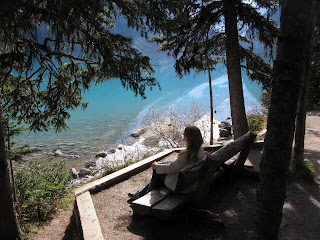
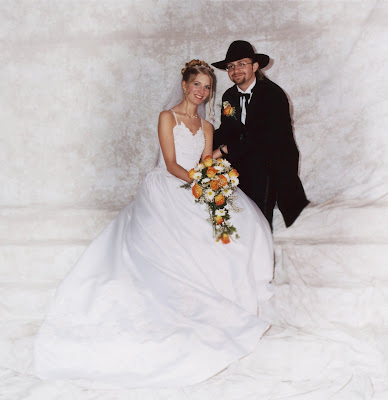
Here is the original scan. Once again, the quality of a black and white scan is not so great.

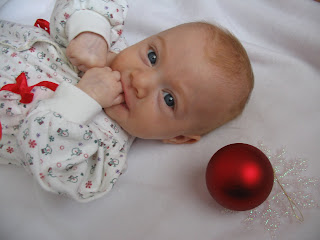
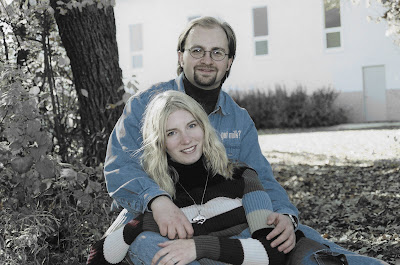
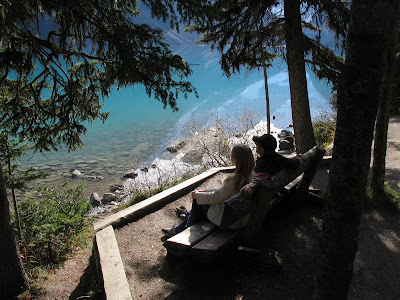
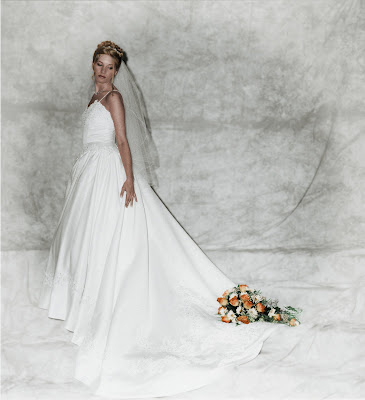
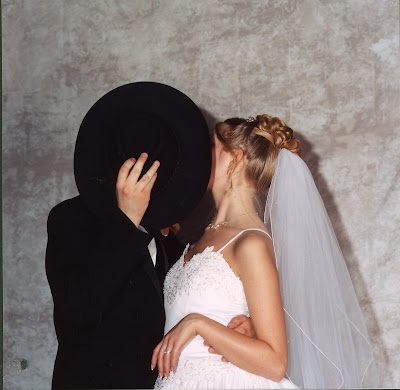
And here I added color using another photo, blurred the background, and added a whiteout blurring effect to the edge of the photo.

Friday, March 7, 2008

Adding Color to B&W

I have one picture I really liked, and it was taken by my photographer in 3 black and white pics. No color. So, I added color using another picture and the "eyedropper" tool. I again added some blurring and whiteout effects.

Picture Perfect

I thought I should make a new spot for my picture modifications. I have been working like crazy to modify some of my wedding pics to make them what I want them to look like, and I thought... hmmm, why not put this on my blog? In one spot? Good idea?

So, I will post a few pictures I've modified, including the one I started with, and the final product. By the way, I use a program called Gimp, which is free at http://www.gimp.org/.

Here are the first two pics I worked on.


This is the original. I thought it was a nice pic of the two of us, unfortunetly we were too far apart in my opinion... and the pic was a bit dark for my taste.


So here, I brought us closer together, brightened the pic, and added some blurring and whiteout to the edges for interest.


I love this pose idea... but hate the fact that my face is completely exposed (as a photographer you should be able to see this kind of thing and move people into position instead of just "click")


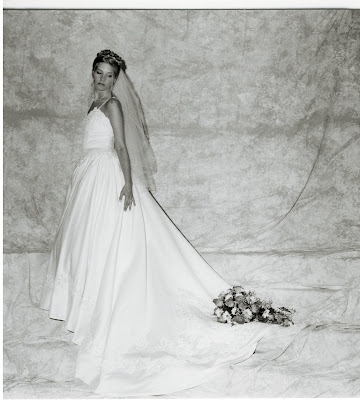
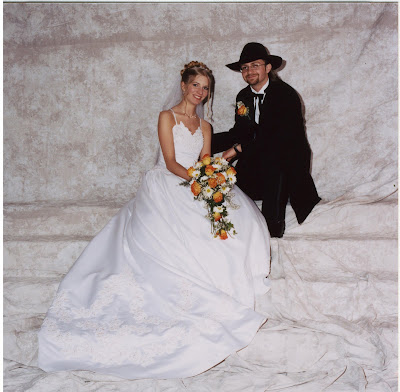
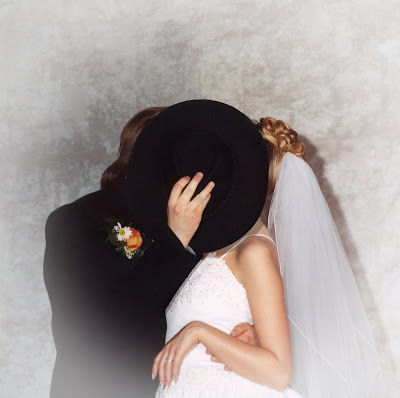
So, seven hours later, I added in Chuck's head from another picture I had of us kissing without the hat, moved his arm, added the flowers, and then also fixed the little imperfections and brightened everything, adding another blurring and whiteout effect.

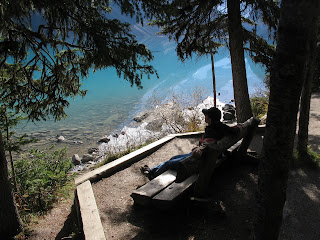
Overall, I feel these two pics turned out rather lovely after all the work! Hours of it! But, it's worth it. Now to print them out to add to frames, and scrapbooking. :)